Why Peloton Clicking Noise: Solving the Annoying Clicks!
The clicking noise on a Peloton bike may be due to the chain wanting to jump gears on the rear cassette. Adjusting the tension of the cable that runs from the shifter to the rear derailleur can typically resolve this issue.
Cleats may also require lubrication to stop squeaky or clicking noises. Checking the tightness of the cleats in your bike shoes and the area where the cleat clips into the pedals is recommended. If the problem persists, contacting Peloton’s technical support for further assistance is advisable.
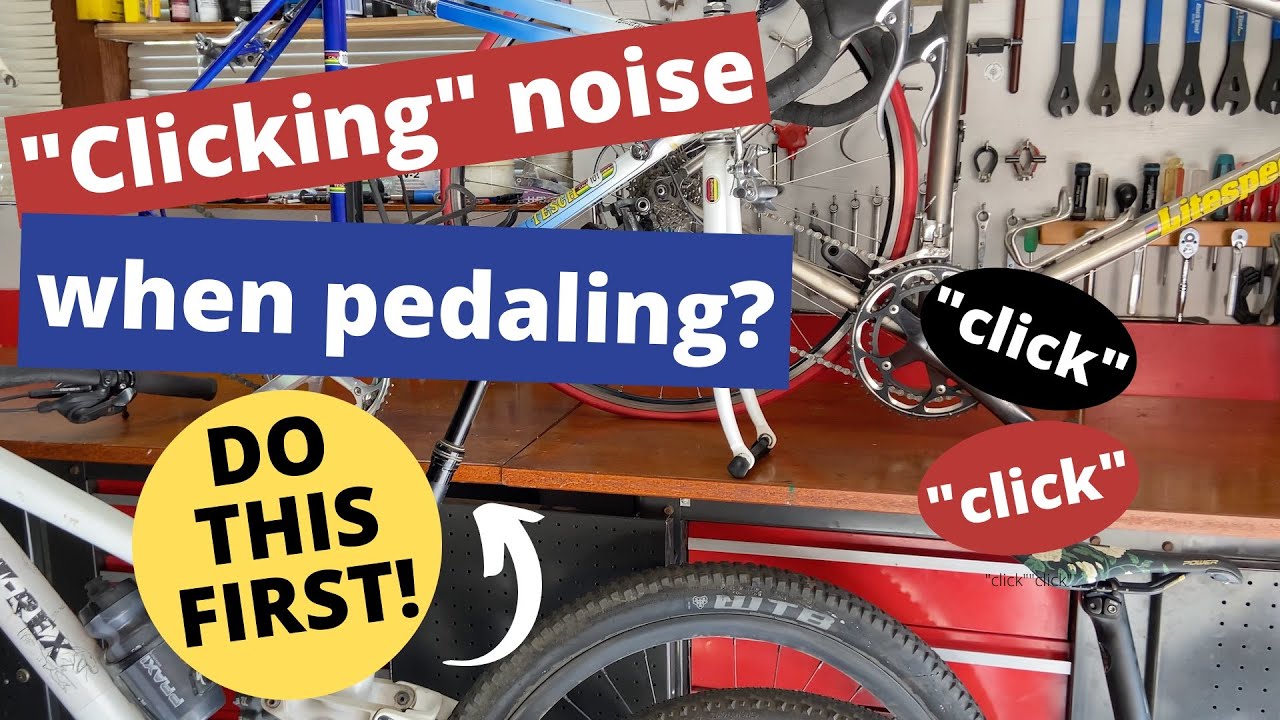
Credit: www.youtube.com
Understanding The Clicking Noise On Peloton Bikes
If you own a Peloton bike, you may have experienced a clicking noise while pedaling. This persistent sound can be frustrating and diminish your overall riding experience. Understanding the root cause of the clicking noise is crucial to addressing and resolving the issue promptly. In this article, we will delve into the common causes of the clicking noise on Peloton bikes, dispel any misconceptions surrounding the issue, and emphasize the importance of addressing it promptly.
What causes the clicking noise on Peloton bikes?
There can be several reasons why your Peloton bike produces a clicking noise. Identifying the exact cause is essential in finding an effective solution. Possible causes of the clicking noise include:
- Loose pedals: Over time, the pedal threads can become loose, leading to a clicking sound.
- Cranks and bottom bracket: A worn-out or faulty crankset or bottom bracket can result in a clicking noise.
- Saddle clamp bolt: The click may originate from the seat clamp bolt area, caused by a loose or insufficiently lubricated bolt.
- Pedal cleats: Worn-out or improperly mounted pedal cleats can generate clicking or squeaky noises.
- Other components: It is also worth checking other components like the chain, chainrings, and cassette, as they can contribute to the clicking noise.
Common misconceptions about the clicking noise
When it comes to the clicking noise on Peloton bikes, there are some misconceptions that can misdirect your troubleshooting efforts. It is important to separate the myths from the facts to effectively resolve the issue. Here are a few common misconceptions:
- Misconception 1: The clicking noise is caused by a loose bike frame. In reality, the bike frame rarely causes the clicking noise, and the focus should be on the moving parts.
- Misconception 2: The clicking noise originates from the flywheel. While the flywheel can contribute to some noises, it is unlikely to be the primary source of the clicking sound.
- Misconception 3: The clicking noise is normal and will go away on its own. Ignoring the clicking noise can lead to further damage to the bike and jeopardize your riding experience.
Importance of addressing the issue promptly
Addressing the clicking noise on your Peloton bike promptly is vital for several reasons:
- Enhanced riding experience: Resolving the clicking noise will significantly improve your overall riding comfort and enjoyment.
- Preventing further damage: Ignoring the clicking noise can lead to more serious issues, such as component failure or misalignment.
- Long-term cost savings: Early identification and resolution of the clicking noise can help prevent costly repairs or component replacements down the line.
- Safety: A bike operating smoothly without clicking noises ensures a safer riding experience, minimizing the risk of accidents or injuries.
Now that you understand the common causes of the clicking noise, the misconceptions surrounding the issue, and the importance of addressing it promptly, you can take the necessary steps to resolve the problem and get back to enjoying your Peloton bike to its fullest potential.
Identifying The Source Of The Clicking Noise
One of the most frustrating issues that Peloton owners may experience is a clicking noise while riding. This clicking noise can be incredibly distracting and can take away from the overall enjoyment of the workout. However, identifying the source of the clicking noise is crucial in order to effectively resolve the issue. In this section, we will focus on investigating the seat clamp bolt area and understanding why bike noises come from the seatpost collar and bolt.
Investigating the seat clamp bolt area
If you suspect that the clicking noise is coming from the seatpost area of your Peloton, one of the first areas to investigate is the seat clamp bolt area. This is the area where the seatpost collar and bolt are located, which can be a common source of clicking noises. To inspect this area, follow these steps:
- Start by removing the seatpost collar bolt using an appropriate wrench or allen key.
- Once the bolt is removed, carefully inspect the seatpost collar for any signs of damage or wear.
- Next, check the seatpost itself for any signs of movement or looseness.
- Inspect the bolt for any signs of corrosion or damage that may be contributing to the clicking noise.
Understanding why bike noises come from the seatpost collar and bolt
So, why do clicking noises often originate from the seatpost collar and bolt area? The seatpost collar and bolt are responsible for holding the seatpost securely in place. Over time, the constant motion and vibrations from riding can cause these components to become loose or misaligned, resulting in the annoying clicking noise. Additionally, if the seatpost collar or bolt is not properly lubricated, it can create friction and contribute to the noise.
Signs that the ticking/clicking noise is coming from the seatpost area
There are a few telltale signs that may indicate that the ticking or clicking noise on your Peloton is indeed coming from the seatpost area:
- The noise becomes more prominent or noticeable when pedaling or applying pressure to the seat.
- You can physically feel the clicking sensation when sitting on the seat.
- Other potential sources of clicking noises, such as the pedals or chain, have been ruled out.
If you have identified that the clicking noise is indeed coming from the seatpost area, don’t worry. In the next section, we will discuss how to fix the tick or click coming from the seat collar and bolt.
Fixing The Clicking Noise On Peloton Bikes
Step-by-step guide to lubricating the seat collar and bolt area
To fix the clicking noise on your Peloton bike, a common source of the issue is the seat collar and bolt area. Follow these step-by-step instructions to properly lubricate this area:- Start by identifying the seat collar and bolt area on your Peloton bike.
- Using a suitable wrench or tool, carefully remove the seatpost collar from the bike.
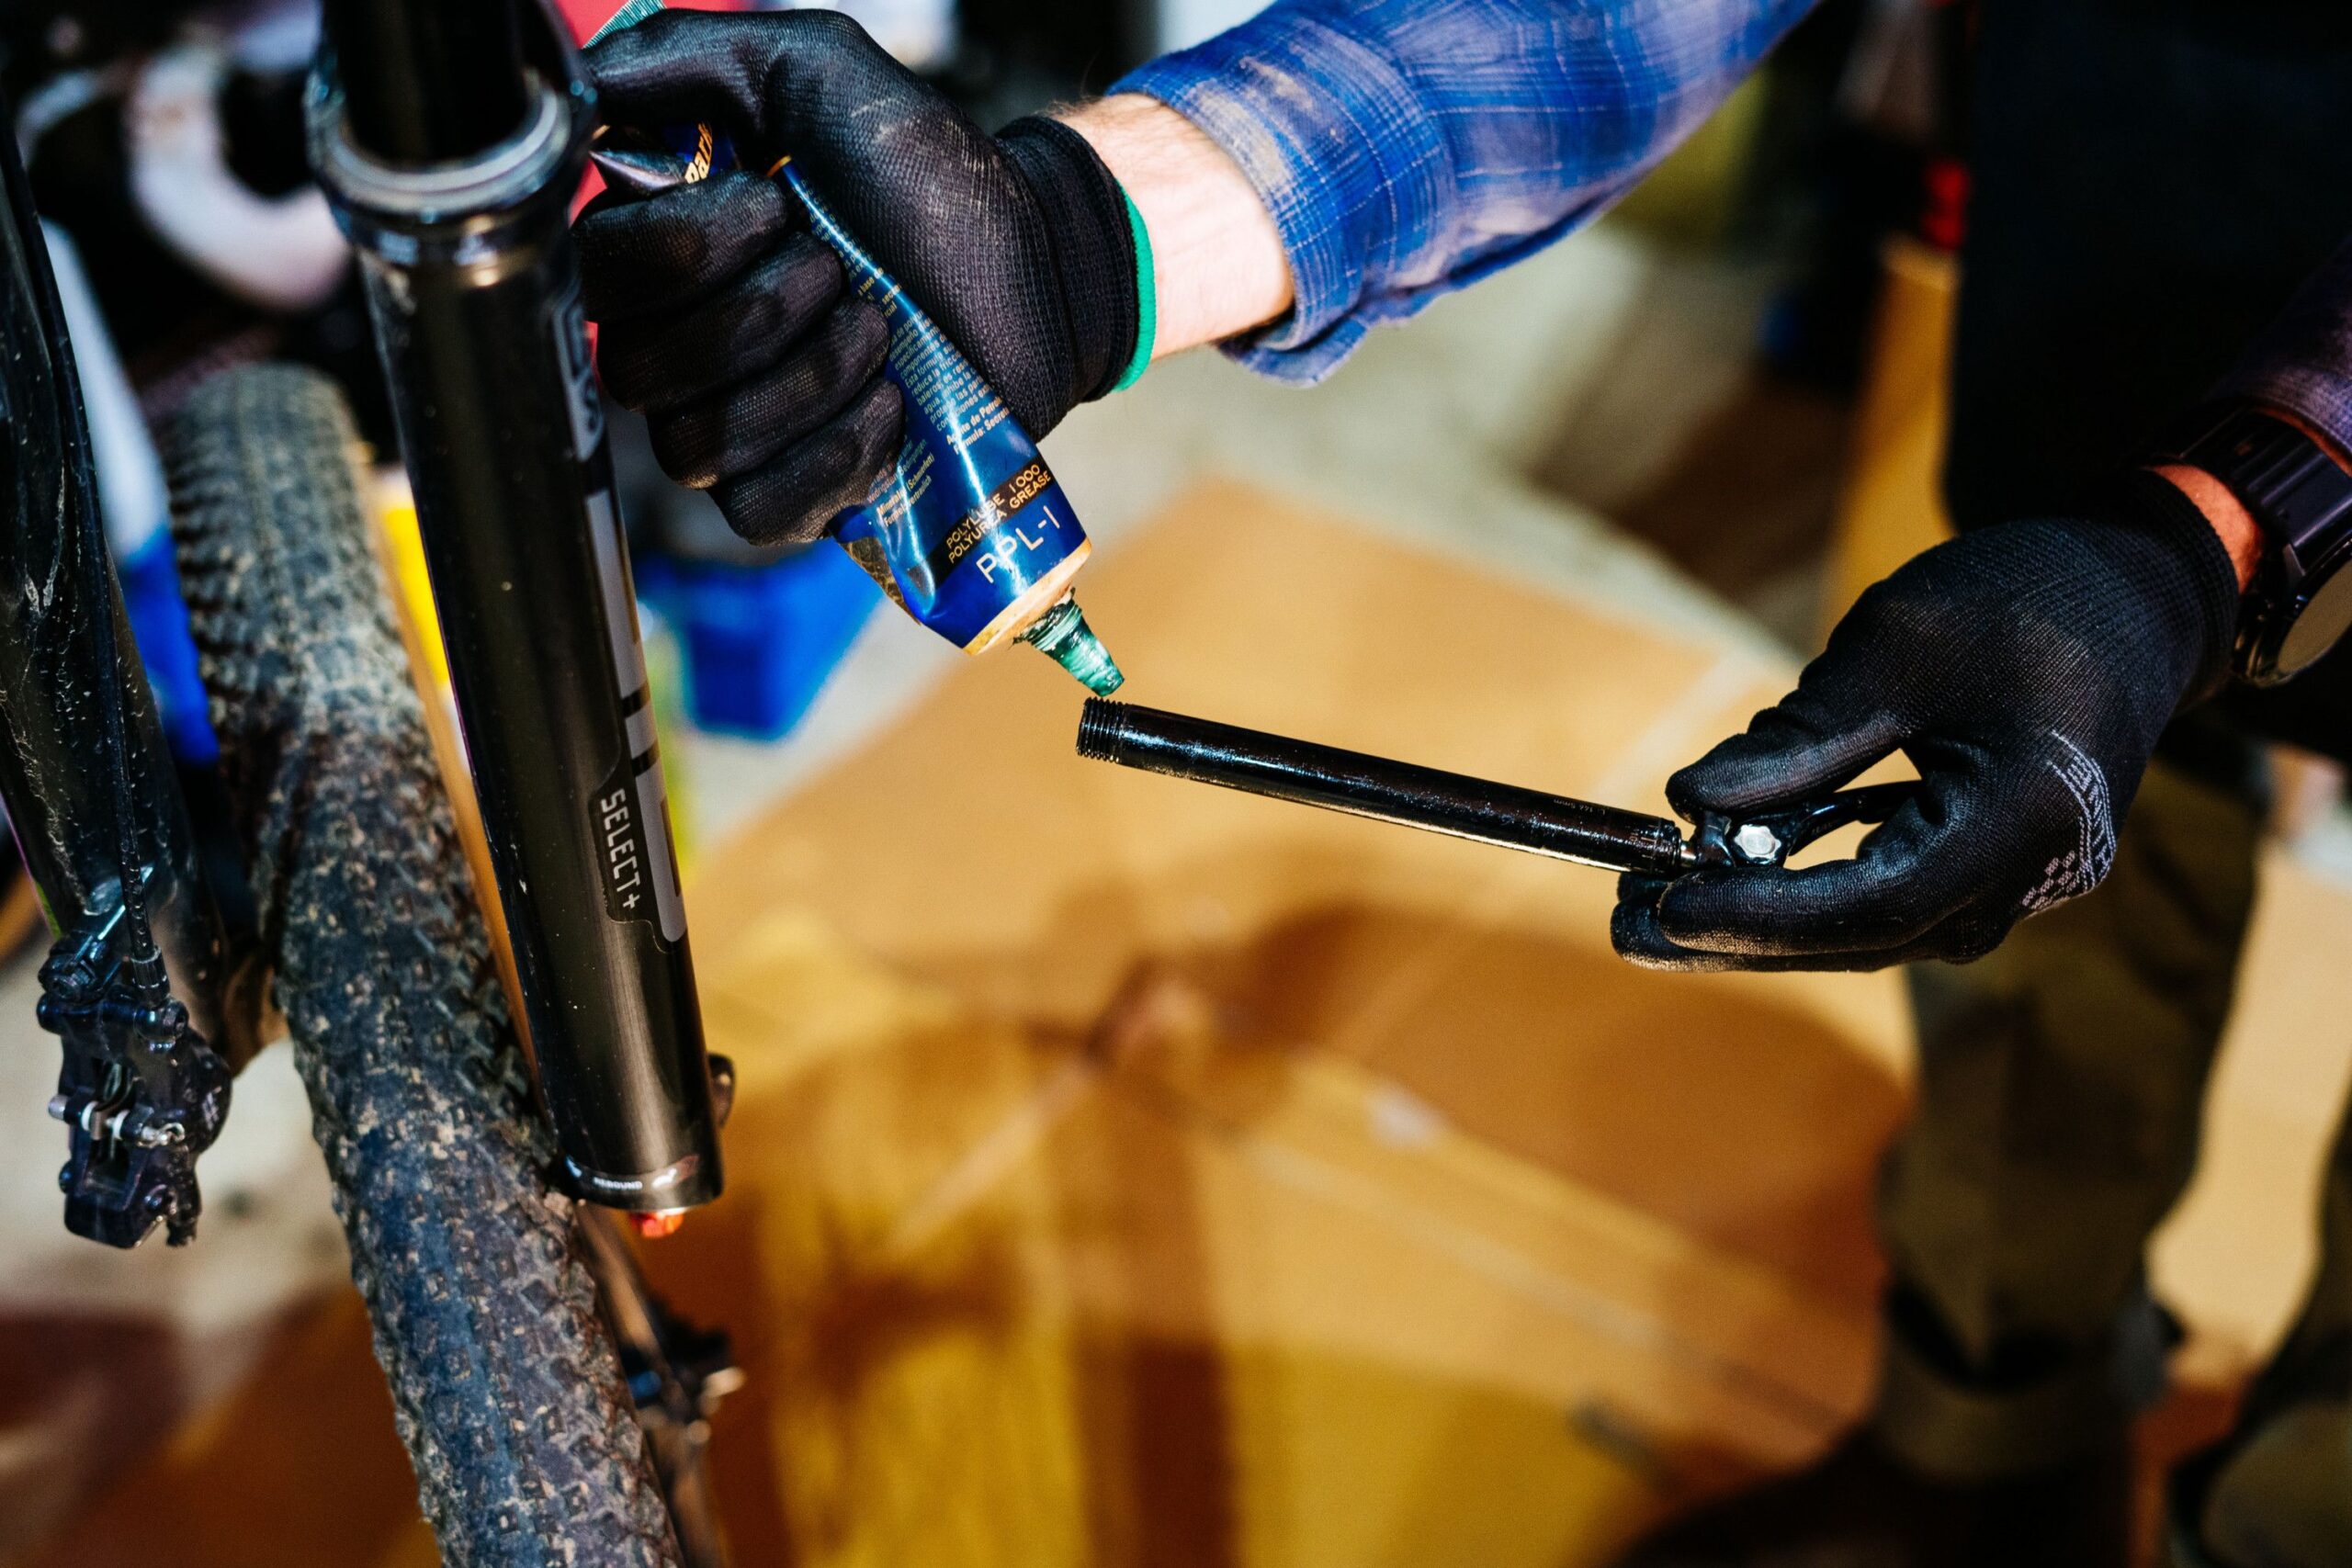
- Take a high-quality bike lubricant or grease and apply it generously to the seat collar and bolt area.
- Make sure to cover all the moving parts and surfaces.
- Gently tighten the seatpost collar back onto your bike, ensuring it is secure but not overly tight.
- With the seatpost collar in place, use a torque wrench to ensure it is properly tightened according to the manufacturer’s specifications.
- Double-check that all the connections and bolts in the seat collar and bolt area are secure.
How to properly remove the seatpost collar
Follow these steps to properly remove the seatpost collar on your Peloton bike:- Locate the seatpost collar, which is typically located just above the seatpost tube.
- Using a suitable wrench or tool, loosen the bolt or clamp that secures the seatpost collar.
- Once the bolt is sufficiently loosened, gently slide the seatpost collar off the seatpost tube.
Tips for greasing the bolt and clamp effectively
Here are some tips to help you grease the bolt and clamp effectively in the seat collar area:- Use a high-quality bike lubricant or grease specifically designed for moving parts.
- Apply the lubricant generously to ensure all surfaces of the bolt and clamp are coated.
- Make sure to clean any dirt or debris from the bolt and clamp before applying the lubricant.
- Utilize a small brush or cloth to evenly distribute the grease.
- Avoid over-tightening the bolt or clamp when reassembling to prevent damage.
Ensuring the seatpost is securely tightened with a torque wrench
To ensure that the seatpost is securely tightened and to prevent any future clicking noises, use a torque wrench to tighten the seatpost collar. Follow these steps:- Refer to the manufacturer’s specifications for the recommended torque setting.
- Attach the torque wrench to the bolt in the seatpost collar area.
- Gently tighten the bolt until the torque wrench reaches the specified torque setting.
- Double-check that the seatpost collar is snug and secure, but not overly tight.
Additional Tips And Tricks
Are you experiencing a clicking noise when riding your Peloton bike? Don’t worry, we’ve got you covered with some additional tips and tricks to help you address this issue and enjoy a smooth and quiet ride. Here are some key areas to focus on:
Where to lube a wedge-type seatpost bolt (e.g., Cervelo bikes)
If you own a bike with a wedge-type seatpost bolt, such as Cervelo bikes, it’s important to properly lubricate this area to prevent clicking noises. Apply some lube to the wedge area where the bolt applies pressure to the seatpost. This will help ensure smooth and noise-free movement.
Where to lube a steel frame seat lug and bolt
For bikes with a steel frame, it’s crucial to lubricate the seat lug and bolt to eliminate potential clicking noises. Apply a small amount of lube to the contact area between the seat lug and frame. This will reduce friction and prevent any unwanted noise.
Marking the seatpost in case of movement
If you notice that your seatpost tends to move slightly during rides, it’s a good idea to mark its position. Use a marker or tape to indicate the desired height of the seatpost. This way, you can easily detect any movement and readjust it accordingly, preventing any clicking noises caused by a loose seatpost.
How to safely remove a tight seatpost collar
If you need to remove a tight seatpost collar, follow these steps to ensure a safe and effective process:
- Apply some lubricating oil or grease to the collar and let it sit for a few minutes to penetrate the threads.
- Use a proper-sized wrench or Allen key to loosen the collar screws. Make sure to apply steady and even pressure to avoid damaging the collar or seatpost.
- If the collar is still stubborn, try tapping it gently with a rubber mallet to loosen it up.
- Once the collar is loosened, carefully slide it off the seatpost, ensuring not to force it or cause any unnecessary damage.
By following these steps, you can safely remove a tight seatpost collar without causing any harm to your Peloton bike.
Remember, regular maintenance and proper lubrication are key to a quiet and smooth ride on your Peloton bike. By addressing these areas and implementing these additional tips and tricks, you’ll be able to enjoy your workouts without any annoying clicking noises.
Resources For Dealing With Bike Noises
If you’re experiencing a clicking noise on your Peloton bike, you’re not alone. Bike noises can be frustrating, but luckily, there are plenty of resources available to help you identify and fix the issue. Whether you’re a DIY enthusiast or prefer to seek professional help, these resources can guide you through the troubleshooting process.
Jim Langley’s comprehensive bike noise website
Jim Langley is a renowned cycling expert and his comprehensive bike noise website is a treasure trove of information for anyone dealing with bike noises. From detailed guides and tutorials to instructional videos, Jim covers a wide range of bike noise issues, including the notorious clicking noise on Peloton bikes. His expertise and easy-to-follow explanations make it a must-visit resource for anyone looking to fix bike noises.
Other troubleshooting resources and forums
If you’re looking for additional troubleshooting resources and forums to help you with your bike noise issue, here are some worth exploring:
- REI Expert Advice – A reliable source for tips and advice on fixing bike creaks and squeaks. Their comprehensive guide provides step-by-step instructions and useful information to address common bike noise issues.
- Scott McCulloch’s Blog – Scott McCulloch shares his personal experience and tips for fixing Peloton clicking and squeaky noise. His blog offers practical solutions in a clear and concise manner.
- PeloBuddy Forums – PeloBuddy Forums is a vibrant online community where Peloton enthusiasts share their experiences and help each other troubleshoot bike noise problems. It’s a great place to connect with fellow riders and get valuable advice.
Remember, when dealing with bike noises, it’s essential to identify the exact source of the noise before attempting any fixes. These resources, along with your patience and perseverance, will enable you to enjoy a smoother and quieter riding experience on your Peloton bike.
Frequently Asked Questions For Why Peloton Clicking Noise
Why Is There A Clicking Sound When I Ride My Bike?
A clicking sound on your bike could be due to the chain wanting to jump gears. Adjust the cable tension from the shifter to the rear derailleur to fix it.
How Do I Stop My Peloton From Creaking?
To stop your Peloton from creaking, first, check if your cleats are tight on your bike shoes. Use a screwdriver to ensure they are fully tightened. Next, inspect the pedal area where the cleats clip in and make sure everything is secure.
If the issue persists, consider lubricating your cleats with cleat lubricant.
Why Does My Peloton Creak When I Pedal?
To fix the creaking noise in your Peloton when pedaling, check if your cleats are tight in your bike shoes. Ensure they are completely tight with a screwdriver. Also, inspect the part where the cleat clips into the pedals for any issues.
Adding lubricant to the cleats can help resolve the squeaky or clicking noise.
Why Is There A Clicking Sound When I Ride My Bike?
A clicking noise often comes from your chain wanting to jump up or down a gear on the rear cassette. This can typically be fixed by adjusting the tension of the cable that runs from your shifter to your rear derailleur.
Conclusion
If you’re experiencing a clicking noise on your Peloton bike, there are several possible causes and solutions to consider. It could be an issue with the chain or rear derailleur, which can be resolved by adjusting cable tension. Additionally, lubricating cleats or seat collar and bolt areas might help eliminate the noise.
Remember to make sure your cleats are tight and consult Peloton’s technical support for further assistance. Don’t let the clicking noise hinder your workout experience and take the necessary steps to address it. Keep pedaling and enjoy your ride!