How to Adjust Peloton Shoes: Your Ultimate Guide to Perfect Fit
To adjust Peloton shoes, start by unboxing the shoes and removing any paper inside. Then, attach the cleats and mount them to the bolts.
Don’t forget to tighten the cleats from time to time for stability. Additionally, make sure to align the cleats properly for optimal performance. To do this, use the cleat positioning markers or refer to instructional videos provided by Peloton for assistance.
Adjusting the cleats ensures a comfortable and secure fit, allowing you to pedal effectively during your workouts.
Why Adjusting Peloton Shoes Is Important
If you’re a Peloton enthusiast, you know that having the right gear is essential for a comfortable and safe cycling experience. One crucial aspect that often gets overlooked is the adjustment of your Peloton shoes. Properly adjusting your shoes can significantly impact your cycling performance, not to mention your comfort and safety on the bike. In this article, we will delve into the significance of adjusting Peloton shoes and why it should not be ignored.
The significance of proper shoe adjustment for cycling performance
When it comes to cycling, having shoes that are properly adjusted to your feet can make all the difference in your performance. When your shoes are fitted correctly, they provide optimal power transfer from your legs to the pedals, allowing you to cycle more efficiently. Proper shoe adjustment ensures that your feet are securely connected to the pedals, preventing any wastage of energy. It helps you maintain a consistent and powerful pedaling motion, enabling you to push harder and cycle further.
Impact of ill-fitting shoes on comfort and safety
Ill-fitting shoes not only affect your cycling performance but also have a severe impact on your comfort and safety. Shoes that are too loose or too tight can cause discomfort during your rides, leading to hot spots, blisters, or even numbness in your feet. This discomfort can distract you from fully enjoying your workout and may even lead to injuries. Additionally, improperly adjusted shoes can compromise your safety by reducing stability and control on the bike. This can result in accidents or falls, which nobody wants to experience.
Importance of adjusting Peloton shoes for individual preferences
Each cyclist is unique, and adjusting your Peloton shoes according to your personal preferences is crucial for a customized experience. Whether it’s the angle of the cleats, the tightness of the straps, or the positioning of the shoe on the pedal, these adjustments can greatly enhance your overall comfort and performance. By fine-tuning your shoe adjustment, you can find the perfect fit that suits your foot shape, arch type, and riding style. It ensures that you can focus on your workout without any distractions or discomfort.
In conclusion, adjusting your Peloton shoes is not just a minor detail but a vital aspect of your cycling setup. It directly impacts your performance, comfort, and safety on the bike. Taking the time to properly adjust your shoes will ensure that you can make the most out of your Peloton workouts, pedal with ease, and achieve your fitness goals.
Understanding Peloton Shoe Components
When it comes to adjusting your Peloton shoes for optimal fit and performance, it’s essential to familiarize yourself with the different components that make up these cycling shoes. Each part has its role in ensuring a secure and comfortable fit, allowing you to pedal with ease during your Peloton workouts. In this article, we will explore the different parts of Peloton shoes, how each component contributes to fit and functionality, and the importance of familiarizing yourself with shoe anatomy.
Exploring the different parts of Peloton shoes
Before delving into the adjustments, let’s first understand the various components that make up a Peloton shoe. Familiarizing yourself with these parts will help you better understand how to adjust them for a perfect fit.
| Parts of Peloton Shoes | Description |
|---|---|
| Sole | The bottom part of the shoe that provides stability and power transfer to the pedals. |
| Upper | The upper part of the shoe that covers the foot and is responsible for support and comfort. |
| Straps or closures | The fastening mechanism of the shoe, which secures it on your foot and allows for adjustments. |
| Insole | The inner sole of the shoe that provides cushioning and support. |
| Cleats | The small metal or plastic attachments that attach the shoes to the pedals. |
How each component contributes to fit and functionality
Each component of a Peloton shoe plays a crucial role in ensuring a comfortable and efficient cycling experience. Understanding how these parts contribute to fit and functionality will help you make the necessary adjustments.
- The sole provides stability, power transfer, and grip, allowing you to pedal with control.
- The upper offers support and comfort, ensuring that the shoe fits snugly around your foot.
- The straps or closures enable adjustability, allowing you to tighten or loosen the shoe as per your preference.
- The insole provides cushioning and support, enhancing comfort during your workouts.
- The cleats attach the shoe to the pedals, ensuring a secure connection and efficient power transfer.
Importance of familiarizing yourself with shoe anatomy
Familiarizing yourself with the anatomy of a Peloton shoe is of utmost importance to ensure optimal fit, comfort, and performance. Knowing the different parts and how they contribute to the overall functionality will empower you to make necessary adjustments based on your specific needs and preferences.
By understanding the purpose and function of the sole, upper, straps, insole, and cleats, you’ll be able to make informed adjustments to enhance the fit, alleviate any discomfort, and maximize your cycling efficiency.
So, before you hit the pedals, take the time to explore the components of your Peloton shoes and make any necessary adjustments to achieve a personalized fit that will help you get the most out of your workouts.
Finding The Right Size Peloton Shoes
Measuring your foot accurately for the perfect fit
Getting the right size Peloton shoes is crucial for a comfortable and effective indoor cycling experience. To find your perfect fit, start by measuring your foot accurately. Here’s how:
- Place a piece of paper on a hard, flat surface.
- Step onto the paper, making sure your foot is flat and your weight is evenly distributed.
- Using a pen or pencil, trace the outline of your foot.
- Measure the length of your foot from the longest toe to the back of your heel. This measurement will be your foot length.
- For additional accuracy, measure the width of your foot by measuring the widest part.
By accurately measuring your foot, you’ll have a better idea of your shoe size and be able to choose the appropriate Peloton shoe.
Understanding Peloton shoe sizing guidelines
Peloton offers a range of shoe sizes, and understanding their sizing guidelines will help you find the right fit. Peloton shoes are typically marked in European sizes, so it’s essential to refer to the conversion chart provided by the brand.
Keep in mind that sizing may vary between brands, so it’s always a good idea to refer to the specific Peloton sizing guidelines. If you’re unsure about which size to choose, opt for the larger size since it’s easier to adjust the fit of a slightly larger shoe.
The importance of trying on different sizes and styles
When it comes to finding the right size Peloton shoes, trying on different sizes and styles is crucial. Everyone’s feet are unique, and what might be comfortable for one person may not work for another.
It’s recommended to try on multiple sizes to determine which one provides the best fit. Pay attention to how the shoe feels in the toe box area, ensuring your toes have enough room to wiggle without being cramped.
Moreover, consider trying different styles of Peloton shoes, as they may have slight variations in fit and feel due to differences in design and materials. By exploring different sizes and styles, you’ll be better equipped to find your perfect match and enhance your cycling performance.
Adjusting The Straps And Closure Systems
Exploring the different strap systems used in Peloton shoes
Peloton shoes are equipped with different strap systems that offer varying levels of adjustability and security. These strap systems include:
- Single-strap closure: This system features a single strap that secures the shoe tightly around the foot.
- Velcro closure: Velcro straps allow for quick and easy adjustment, ensuring a snug fit for every ride.
- Boa closure: The Boa dial system allows for micro-adjustments, providing a customized fit with just a turn of the dial.
Proper techniques for adjusting straps for a secure fit
Ensuring your Peloton shoe straps are adjusted properly is essential for a secure and comfortable ride. Follow these techniques for the best fit:
- Single-strap closure: Pull the strap tight across the foot, making sure it is snug without causing discomfort. Secure the strap in place.
- Velcro closure: Start by loosening the existing Velcro straps. Slide your foot into the shoe and position it for optimal comfort. Tighten the straps gradually, starting from the bottom and working your way up. Avoid overtightening as it may restrict blood flow.
- Boa closure: To adjust the Boa closure, turn the dial in small increments for a precise fit. Start at the bottom, tightening the dial until you achieve the desired tightness. To release the closure, simply pull up on the Boa dial.
Tips for finding the ideal tension level
Everyone has different preferences when it comes to the tension level of their Peloton shoe straps. Here are a few tips for finding the ideal tension:
- Start with a looser fit and gradually tighten the straps, ensuring they are snug but not too tight.
- Pay attention to any discomfort or numbness in your feet, as this may indicate that the straps are too tight.
- Experiment with different tension levels during your rides to find what works best for you.
- If you experience any pain or discomfort, consider adjusting the straps or seeking professional assistance.
By exploring the different strap systems, using proper adjustment techniques, and finding the ideal tension level, you can ensure a secure and comfortable fit for your Peloton shoes. Take the time to adjust your straps before each ride to optimize your cycling experience.
Positioning The Cleats For Optimal Performance
Positioning the Cleats for Optimal Performance
Understanding the function and importance of cleats
Cleats play a crucial role in cycling performance as they are responsible for connecting your feet to the pedals. They provide stability, power transfer, and control while riding. Properly positioning the cleats is essential to ensure optimal power output and avoid discomfort or injury.
Identifying the proper location for optimal power transfer
Identifying the right location for your cleats can significantly improve your cycling efficiency. The placement of the cleats should be aligned with the ball of your foot, ensuring a balance between power transfer and stability. Correct positioning minimizes the risk of knee strain and promotes efficient pedal strokes.
Step-by-step guide for adjusting and aligning cleats
Follow these step-by-step instructions to adjust and align your cleats:
- Start by placing your shoes on a flat surface and identifying the center point below the ball of your foot. This is where the center of the cleat should be positioned.
- Take note of the markings or indicators on your shoes that help guide the cleat’s placement. These markings are usually located towards the front of the shoe.
- Loosen the screws holding the cleats in place using an appropriate screwdriver or Allen wrench.
- Position the cleat aligning the center point with the midpoint of the markings or indicators on your shoe.
- Make sure the cleat is aligned straight along the centerline of the shoe, ensuring an even distribution of force when pedaling.
- Tighten the screws firmly, but be careful not to overtighten and damage the shoe’s sole.
- Test the cleat’s position by clipping into the pedals and checking for any discomfort or misalignment.
- If necessary, make minor adjustments to the cleat position until you find the optimal placement that provides comfort, stability, and efficient power transfer.
By carefully following these steps and paying attention to the alignment of your cleats, you can maximize your pedaling efficiency and minimize the risk of discomfort or injury during your rides.
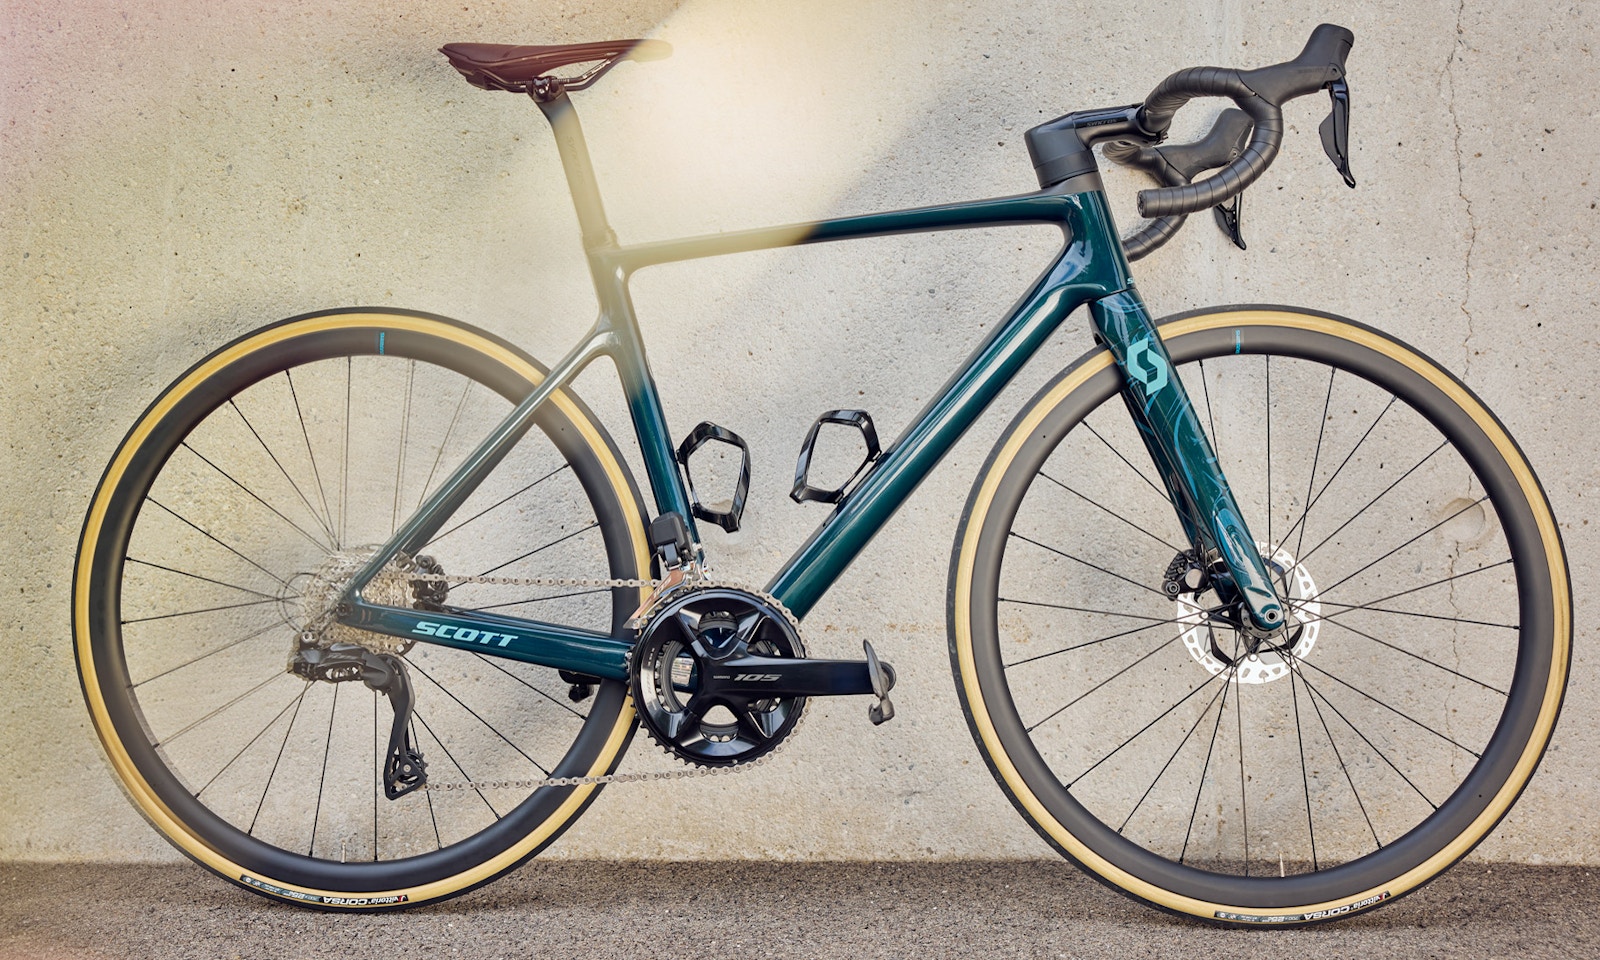
Credit: www.bikeexchange.com
Fine-Tuning The Insole And Footbed
Fine-Tuning the Insole and Footbed
The role of the insole in providing support and comfort
The insole of your Peloton shoes plays a crucial role in enhancing your overall cycling experience. It provides support and comfort to your feet, reducing the chances of discomfort or pain during your workouts. The insole is designed to help distribute pressure evenly across your feet and absorb shock, minimizing the impact on your joints and muscles. With a well-adjusted insole, you can gain better stability, pedal efficiency, and an overall smoother ride.
How to customize the insole for your foot shape and arch type
Step 1: Start by assessing your foot shape and arch type. This will help you understand the specific adjustments needed for your insole. There are three common foot arch types: low, neutral, and high arches.
Step 2: Depending on your foot arch type, you can make personalized adjustments to the insole. For those with low arches, you may need additional arch support. You can consider adding arch support inserts or orthotic inserts that are specifically designed for low arches. On the other hand, individuals with high arches may benefit from insoles with extra cushioning and shock absorption. Those with neutral arches may find the default insole to be suitable, but still have the option to customize if desired.
Step 3: Experiment with different insole adjustments to find the most comfortable fit. You can try adding or removing inserts to achieve the right amount of arch support and cushioning. Remember to always ensure that your toes have enough room to wiggle and that your shoes do not feel too tight or loose.
Exploring different options for footbed adjustments
While the insole primarily focuses on supporting your arch and providing cushioning, the footbed adjustment takes into account factors such as foot alignment and engagement of various muscle groups during cycling. Here are some key options to consider for footbed adjustments:
- Forefoot Wedging: Depending on your pedal stroke, you may require forefoot wedging to align your foot correctly. This adjustment can help optimize power transfer and reduce the risk of injury. Consult a professional if you need assistance with forefoot wedging.
- Heel Lift: Heel lift can be beneficial for riders with limited ankle flexibility. It can help achieve a more natural and efficient pedaling motion. Experiment with different heel lift heights to find the most comfortable and effective position for you.
- Metatarsal Pad: A metatarsal pad can relieve pressure on the ball of your foot, minimizing discomfort and potential hot spots. Place the pad just behind the metatarsal heads to experience better weight distribution and reduced stress on the forefoot.
- Ankle Support: If you experience any ankle instability or pronation issues, ankle support adjustments might be necessary. This can involve using different types of ankle braces or straps to provide additional stability and prevent excessive movement.
Remember, footbed adjustments should be done gradually and in consultation with a professional, especially if you have any specific foot conditions or injuries. Regularly reassess the comfort and performance of your footbed adjustments to ensure they continue to meet your needs.
Addressing Hot Spots And Pressure Points
When it comes to cycling, having comfortable and properly adjusted shoes is essential. Improper shoe adjustments can lead to hot spots and pressure points, causing discomfort and even blisters. In this section, we will discuss how to identify common hot spots and pressure points, strategies for alleviating discomfort and preventing blisters, and the importance of regular check-ins and adjustments.
Identifying common hot spots and pressure points
Identifying common hot spots and pressure points in your Peloton shoes is crucial for ensuring a comfortable ride. Hot spots and pressure points can occur in various areas, such as the toes, balls of the feet, arches, and heels. It’s essential to pay attention to any discomfort or pain during your rides to pinpoint these problem areas.
To help you in this process, here are some common indicators of hot spots and pressure points:
- Tingling or numbness in specific areas of your feet
- Localized pain or soreness during or after your rides
- Redness or irritation on certain parts of your feet
- Formation of blisters or calluses
Strategies for alleviating discomfort and preventing blisters
Now that we have identified the common hot spots and pressure points, let’s discuss some strategies for alleviating discomfort and preventing blisters:
- Adjusting the straps and closures: Ensure that your shoe straps and closures are snug and secure, but not overly tight. A loose fit can cause friction and movement, leading to discomfort and blisters.
- Proper cleat positioning: Aligning your cleats correctly can significantly impact your foot’s alignment and weight distribution. Check the alignment of your cleats and adjust them as needed, using the markings on the bottom of your Peloton shoes.
- Insole customization: Consider using specialized insoles or orthotics to provide additional support and cushioning for your feet. These inserts can help redistribute pressure and alleviate discomfort in problem areas.
- Regular check-ins and adjustments: Make it a habit to check the fit and comfort of your Peloton shoes regularly. Our feet can change over time, and adjustments may be necessary to maintain optimal comfort and performance.
- Proper sock choice: Opt for moisture-wicking socks made from breathable materials to minimize friction and keep your feet dry during your rides. This can help prevent blisters and discomfort caused by excess moisture.
The importance of regular check-ins and adjustments
To ensure long-term comfort and enjoyable rides, regular check-ins and adjustments are vital. Oftentimes, our bodies and feet can change over time, and what worked initially may not be suitable in the future. By periodically assessing the fit and feel of your Peloton shoes, you can address any developing hot spots or pressure points promptly, preventing discomfort and potential injuries.
Remember, your Peloton shoes should provide a snug and secure fit, but not be overly tight. Finding the right balance will help you ride comfortably and maximize your performance. By identifying hot spots, employing the strategies mentioned above, and regularly adjusting your shoes, you can enjoy pain-free and blister-free rides on your Peloton bike.
Maintaining And Revisiting Shoe Adjustments
When it comes to getting the most out of your Peloton bike rides, proper shoe adjustments are essential. Ensuring a comfortable and secure fit not only improves your overall cycling experience but also helps prevent injuries. However, even after initially adjusting your Peloton shoes, it’s important to regularly check and revisit your shoe fit to maintain optimal performance. In this section, we’ll explore the key steps and considerations for maintaining and revisiting your shoe adjustments to keep your rides safe and enjoyable.
Regular check-ins and inspections for maintaining proper fit
To maintain a proper fit, it’s essential to regularly check and inspect your Peloton shoes. Here are some tips for keeping your shoe adjustments in check:
- Check the tightness of the straps or buckles. Over time, the straps of your Peloton shoes may loosen, causing discomfort and potentially affecting your performance. Regularly check the tightness of the straps and make necessary adjustments.
- Inspect the condition of the sole. The sole of your Peloton shoes often undergoes wear and tear, which can impact the overall fit. Regularly inspect the condition of the sole to ensure it’s in good condition and providing sufficient support.
- Examine the cleat position. The position of your cleats plays a crucial role in maintaining proper body alignment during cycling. Regularly inspect the cleat position and make adjustments if necessary.
Signs that indicate a need for readjustment
Knowing the signs that indicate a need for readjustment is vital for maintaining a comfortable and safe riding experience. Here are some common signs that it’s time to revisit your shoe adjustments:
- Feeling discomfort or pain in your feet, ankles, or knees during or after rides.
- Experiencing a lack of stability or balance on the bike.
- Noticing any unusual foot movements or rubbing against the bike pedal.
How to troubleshoot fit issues and make necessary changes
If you experience fit issues or notice any of the signs mentioned above, it’s important to troubleshoot and make necessary changes to your Peloton shoe adjustments. Here are some steps you can take:
- Check the strap or buckle tightness. Ensure that the straps or buckles are securely fastened but not overly tight, which can restrict blood flow and cause discomfort.
- Inspect the cleat position. Using the helpful lines and numbers on the bottom of your Peloton shoes, you can adjust your cleat position. Make small adjustments to find the optimal position that aligns with the natural movements of your feet and legs.
- Consider additional shoe inserts or insoles. If you’re still experiencing discomfort or soreness, it may be helpful to try different shoe inserts or insoles. These can provide extra support and cushioning where needed.
- Consult a professional. If you’re unable to troubleshoot fit issues on your own, it may be beneficial to seek guidance from a professional bike fitter or coach. They can assess your shoe adjustments and provide personalized recommendations.
By regularly checking in and maintaining your shoe adjustments, you’ll ensure a comfortable and efficient riding experience on your Peloton bike. Take the time to inspect your shoes, recognize signs of readjustment, and troubleshoot fit issues whenever necessary. By doing so, you’ll optimize your performance and protect your body from potential injuries. Happy cycling!
Frequently Asked Questions For How To Adjust Peloton Shoes
How Do You Adjust Peloton Shoe Cleats?
To adjust Peloton shoe cleats, follow these steps: 1. Unbox the shoes and remove any paper inside. 2. Attach the cleats to the shoes using the markers for positioning. 3. Mount the cleats to the bolts on the shoes. 4.
Tighten the screws to secure the cleats. 5. Use a torque wrench for proper tightening.
What Are The Lines On The Bottom Of Peloton Shoes?
The lines on the bottom of Peloton shoes are cleat position markers. They help ensure that your cleats are properly aligned and positioned on the shoe.
Should Peloton Shoes Be Tight Or Loose?
Peloton shoes should be snug on the sides and heel area, but not overly tight. Leave some room in the toe box to wiggle your toes. If your toes touch the front, go up a size for comfort.
How Do You Screw In Peloton Shoes?
To screw in Peloton shoes, follow these steps: 1. Straighten your cleats and ensure they are secure by tightening the screws. 2. For a silent ride, tighten the screws once a month. 3. Make sure your cycling shoes are snug on the sides and in the heel area, but not overly tight.
4. You should have a little room in the toe box area to wiggle your toes. 5. If your toes are touching the front of the shoes, consider going up a size.
Conclusion
Adjusting your Peloton shoes is essential for a comfortable and effective workout. By following these simple steps, you can ensure that your cleats are properly aligned and secure. Start by unboxing your shoes and attaching the cleats. Use the cleat position markers to help with alignment.
Tighten the cleats and periodically check for any looseness. Remember to give yourself some room in the toe box area for flexibility. By taking the time to adjust your Peloton shoes correctly, you can optimize your cycling experience and prevent any discomfort or injuries.
Happy riding!